Editing a Project
Adding Items from an Object Page
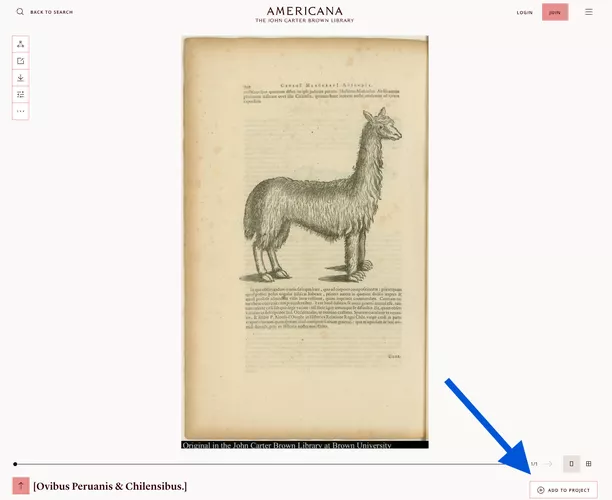
The "add to project button" is located in the bottom right corner of your image viewer. It looks like a plus sign in a round circle. If you click it, and you don't already have an account, you'll be asked to make one. If you click it and are logged in, a drop down will offer you a list of your projects, or give you a chance to create a new one. Select the project you'd like to add your new found discovery to!
Adding Items from the Search Results Page
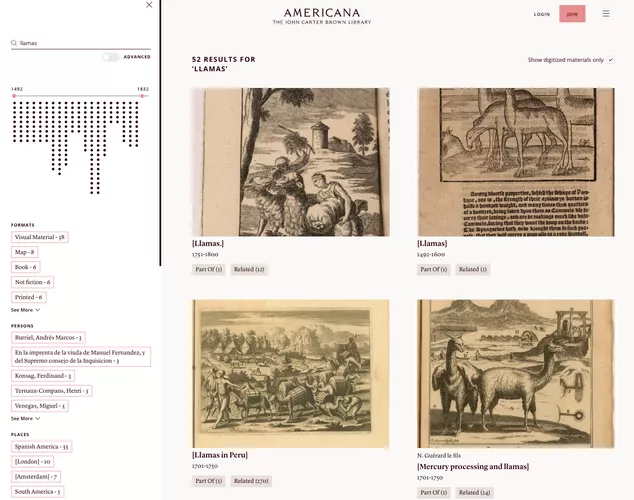
You can also add items to your Project by hovering the mouse on a book, and clicking on the “+” button. It'll appear in the upper left corner of the image.
< 2 of 7 >
Not Digitized, yet? No problem!
You can add both digitized and non-digitized items to your projects. Americana's digital architecture was designed to automatically display newly digitized items in your project as soon as the digital images are added!
< 3 of 7 >
Rearranging the Items in a Project
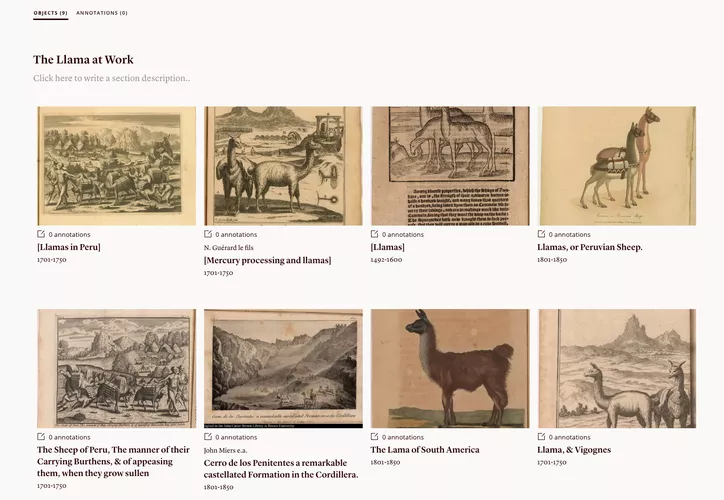
Now that you have all the items that you want in your project, you can rearrange them by dragging the thumbnails.
< 4 of 7 >
Creating Sections
A project can be as simple as a list of items, like a library shelf. However, sometimes you may want to customize your project by adding sections and texts to help contextualize the items that you selected. Fortunately, this is very easy to do!
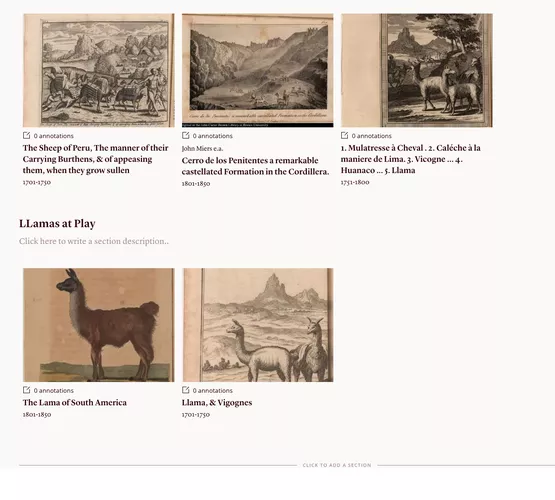
Above the items in your project, you will see a text that says "Click here to add a section title". If you click there, you will be able to enter a title for this section. Below that, you can also write a description for the section.
To create new sections, scroll down until you see a divider with the text: Click to Add a Section. Clicking on this divider will create a new section. You can move items to this new section by dragging them.
< 5 of 7 >
Adding a Cover Image and Introduction
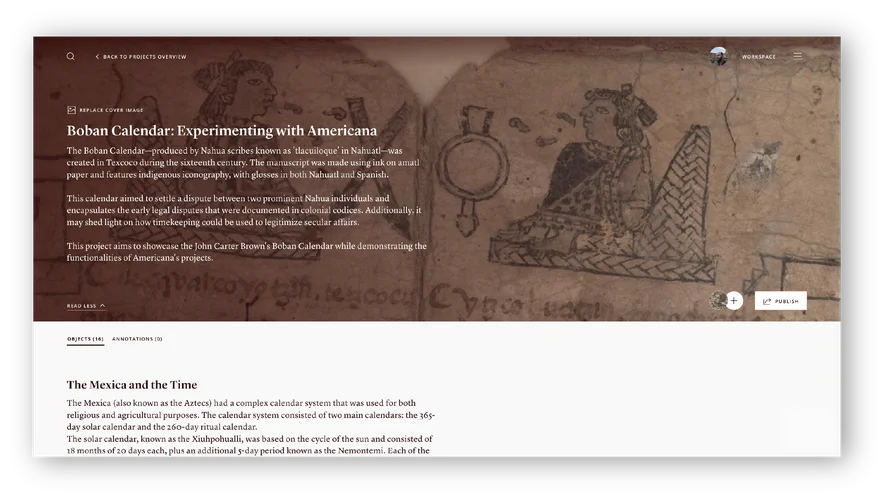
In the header of your project, you can edit the title, write an introduction, and add a cover image. The cover image will be used as a background image in the header of the project and wherever the project is displayed.
You can use images from Americana or other collections (especially those available in Open Access), as well as images that you created or own. Images uploaded as a project cover fall under the Fair Use doctrine.
< 6 of 7 >
More
Now that you created your project, you can annotate individual items, and make your project public.
We have prepared special guides to help you enrich your creations:
Annotating an Item
Publishing a Project
Project Ideas & Tips
< 7 of 7 >
