Shelfie of Americas

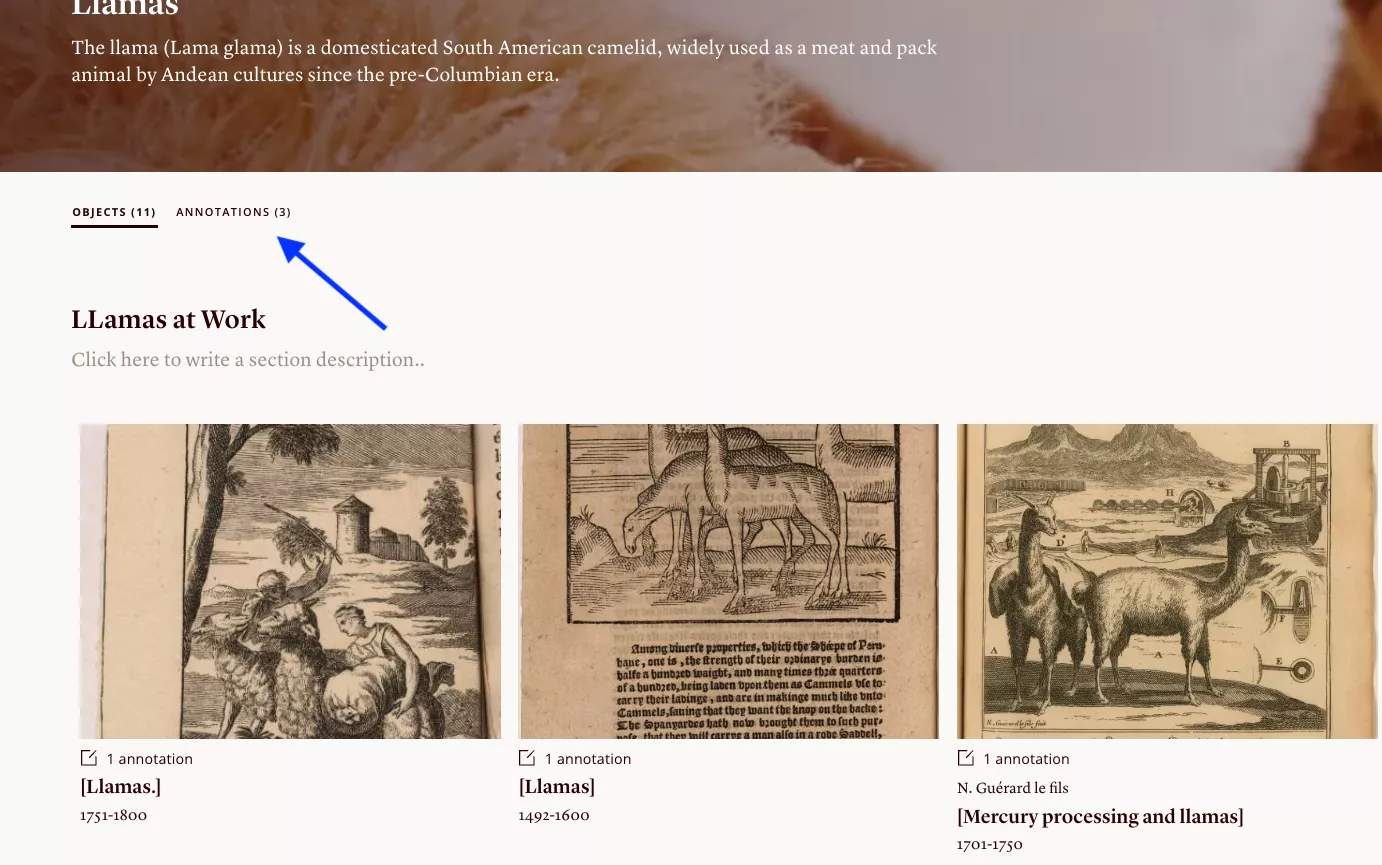
Publishing a Project

You may want to share your project with readers outside your collaboration group, whether thats others interested in the topic or your professor for a group project.

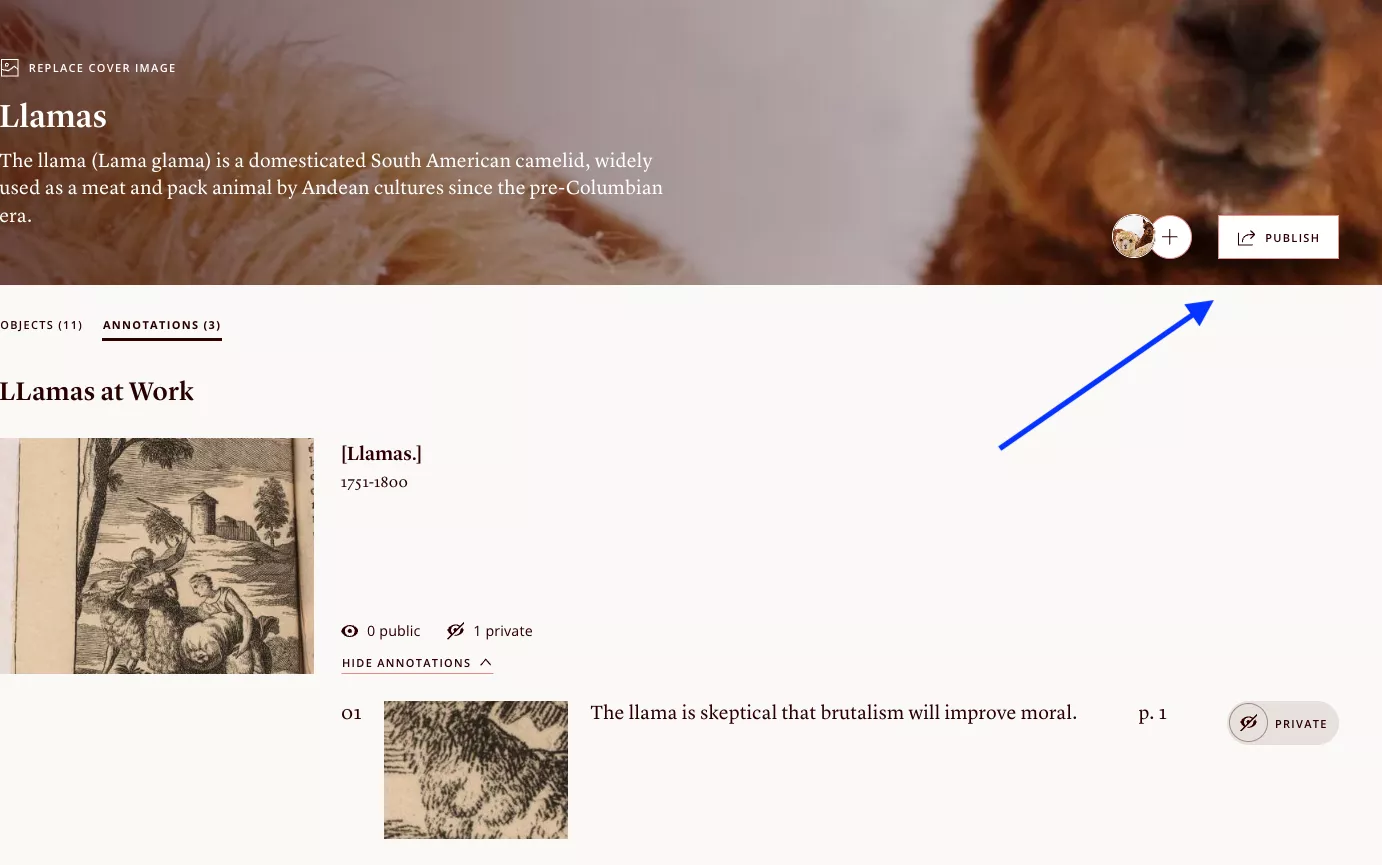
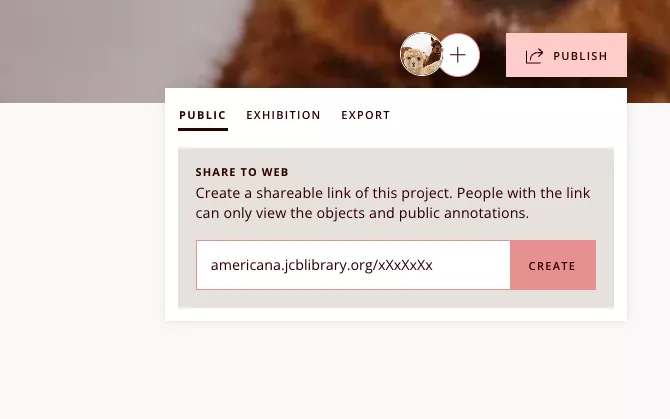
There are two steps to making a project public.

Image of a project page with a blue arrow pointing to the annotations tab.
When you're ready to publish your project, go to the Annotations tab to review your annotations.
Photo of the annotations page with a blue arrow pointing at the Show Annotations button
Select "Show Annotations" to display the annotation for each image.
After clicking on the Show Annotations button, it becomes "Hide Annotations"
After clicking on the Show Annotations button, it becomes "Hide Annotations" and the annotation is displayed to the right.
Screenshot of the annotations page with a blue arrow pointing at the private/public toggle for an annotation
To the right of your annotation, you'll find a toggle button marked "Private." Click it to make your annotation public. You must click this button for each annotation that you want others to see. This means that if you have annotations in your collection that you do NOT want others to see, you can leave them marked "Private." All annotations are "Private" by default.
Screenshot of a project page with an arrow highlighting the publish button
When you're ready to share, click the publish button. You'l be able to create a sharable link for others to view the objects, your contextualizing texts, and your public annotations.
Screenshot showing the publication URL generation box.
The URL generated for your project will typically end in the title you've given it plus a number. Your public project will ONLY include annotations you've marked public.